Working At Height Course
Over an intensive 8 hours of theory focused tuition with visual presentations, group exercises, demonstrations and workshops, you’ll gain extensive knowledge of the legislation, responsibilities, procedures, best practices and compliance that enable you to govern jobs efficiency and keep your employees safe from the dangers of falling.
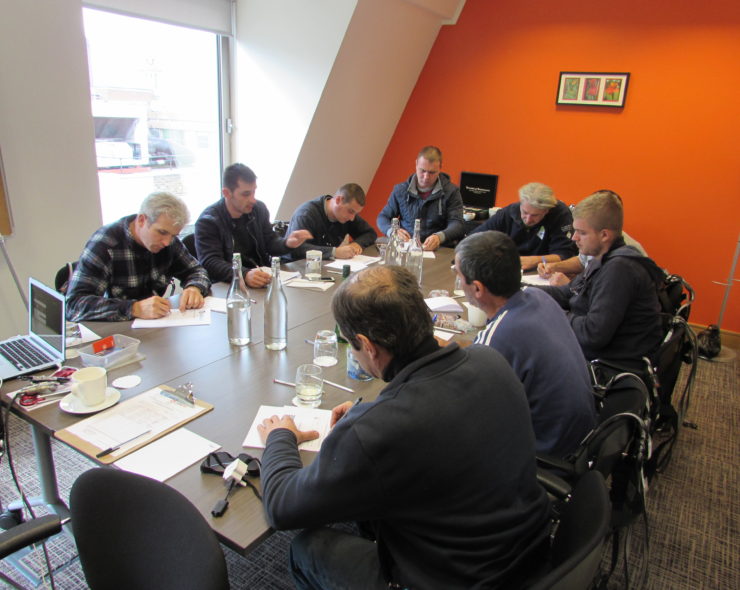
Managing work at height requires an advanced skill set covering a wide range of legal and moral responsibilities. To achieve this we enable you to identify potential hazards, complete effective risk assessments and method statements, get you fully up to date with the latest equipment and work methods and teach you all the skills you need to be manage work successfully.
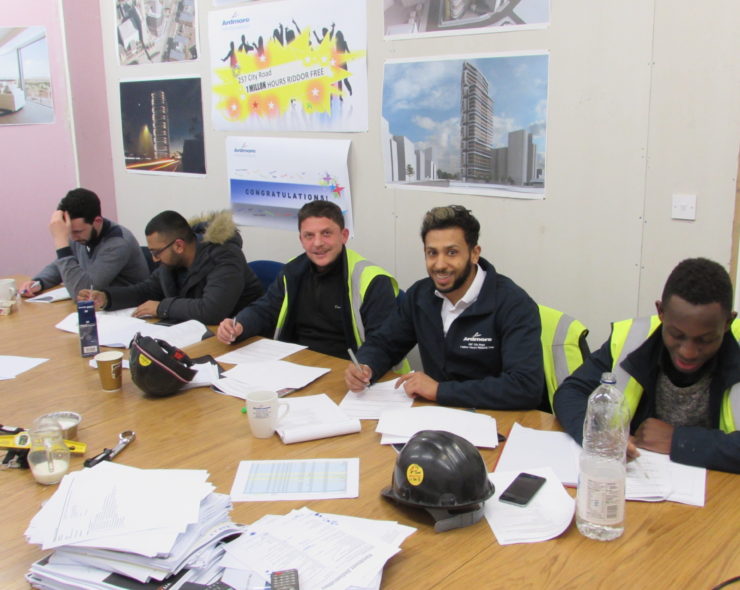
A big part of being a manager means ensuring your team has the right equipment for their tasks. We’ll explore the function and use of various types of height safety equipment at an advanced level, giving you full proficiency in the selection and utilisation of harnesses, intermediate devices and anchorage that together form your employees height access solutions.
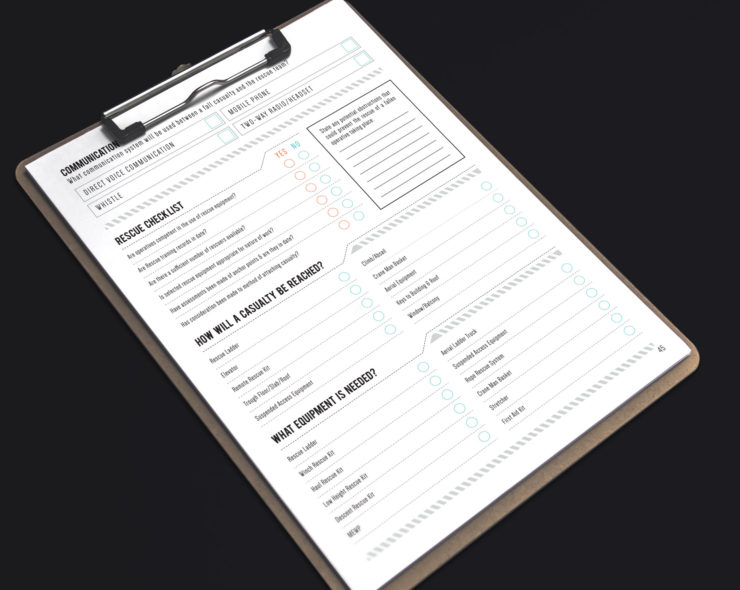
Discover the effects of falling on the human body and get all the information and tools you need to begin making necessary height rescue provisions for work at height. You'll be able to select and place appropriate recovery systems for any work at height and fulfil your risk assessment requirements — an essential skill for any managerial role.
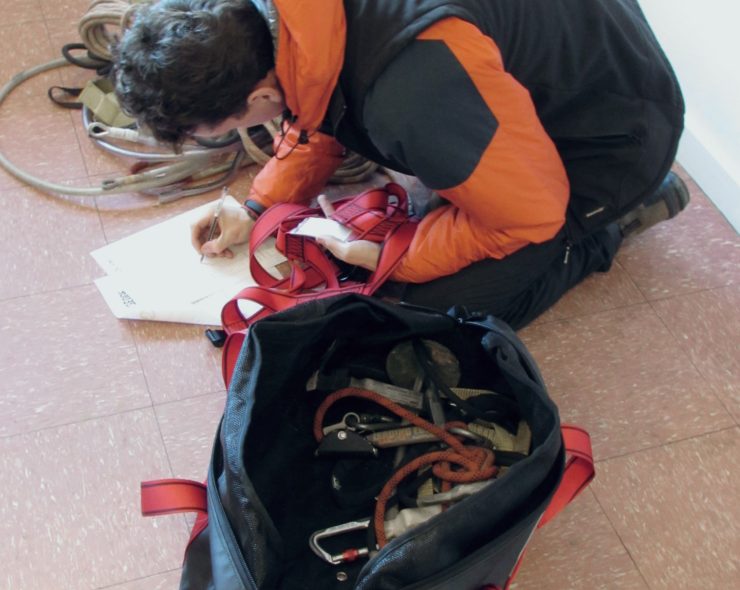
Learn how to store and maintain your equipment and discover how to perform weekly kit inspections on a full range of PPE. We also reveal strategies that safeguard against the repercussion of dropped objects using cutting-edge tethering systems.
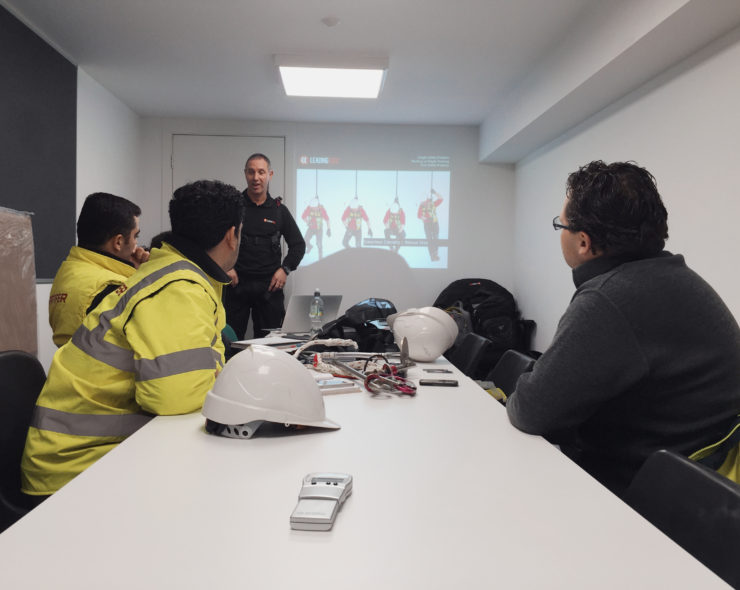
In a final group exercise you’ll demonstrate your competency as a manager by risk assessing and selecting appropriate work methods and equipment for several mock work at height scenarios. As a qualified WAH appointed person you can issue ‘permit to work’ (PTW) for all working at height activities.
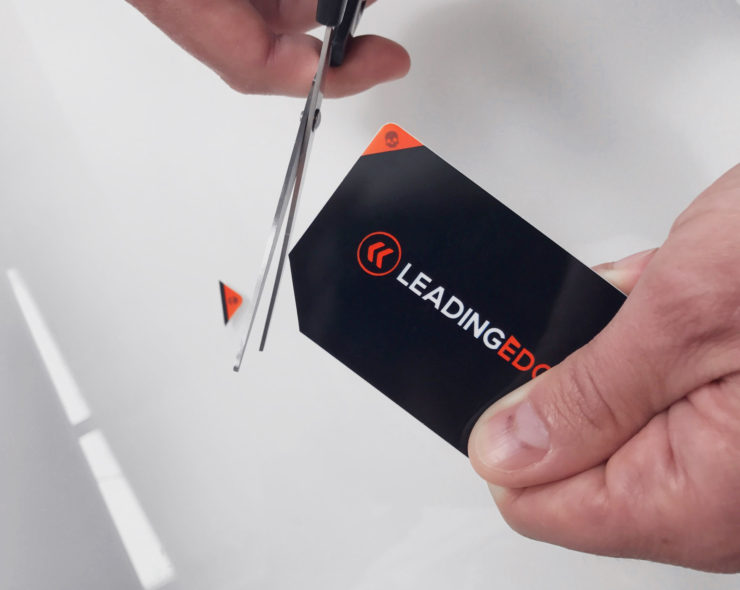
The Leading Edge license card management system gives you the power to take disciplinary action by removing the corners of a license if the card holder commits an act of misconduct. A Leading Edge card with all 4 corners removed is considered invalid and requires the operative to be retrained before continuing work.
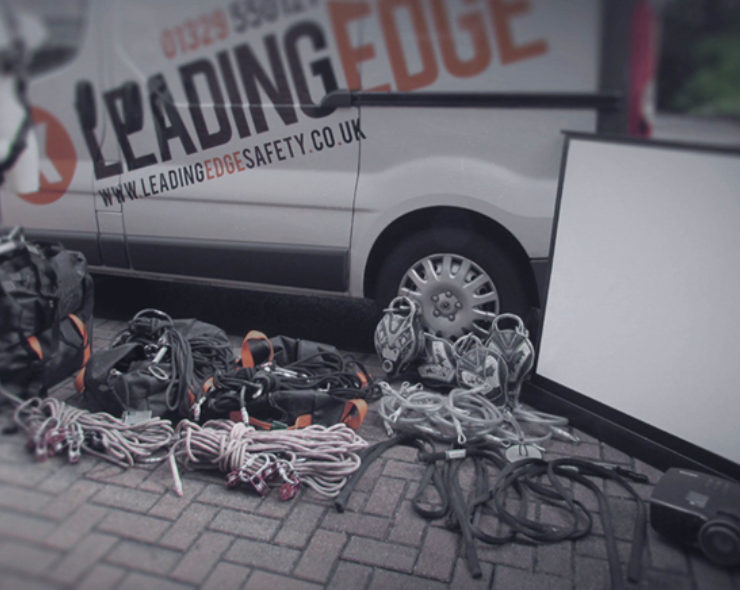
We provide our own projector, screen, laptop, props and a bag full of equipment to deliver theory lessons. We just need somewhere to teach. So if you're booking a course on your site, don't forget to arrange a training room that can hold the appropriate number of people.
Your license to work.
Copyright 2025 Leading Edge Safety. Devloped by Czargroup Technologies

As a manager or employer you have strict legal responsibility to keep your workforce safe at height. But while the WAH Regulations and British Standard exist for everyone’s benefit, being extensive jargon-filled documents makes them daunting and difficult for non-legal professionals to understand. Thankfully we do all the heavy lifting to pull out the clauses that are relevant to you and explain them one-by- one in layman’s terms, helping you understand how to comply with the law and prevent unknowingly exposing yourselves and your team to the possibility of future legal repercussions.
To have a meaningful discussion about height safety we need a clear picture of the terminology and work methods fundamental to all work at height. They fall into three distinct categories: Fall Arrest, Work Positioning and Fall Restraint. In DEP we break down and deliver detailed defnitions of all three methods, demystifying what they mean, how they function, the equipment that comprise them and the various ways in which they can be utilised in a height access solution.
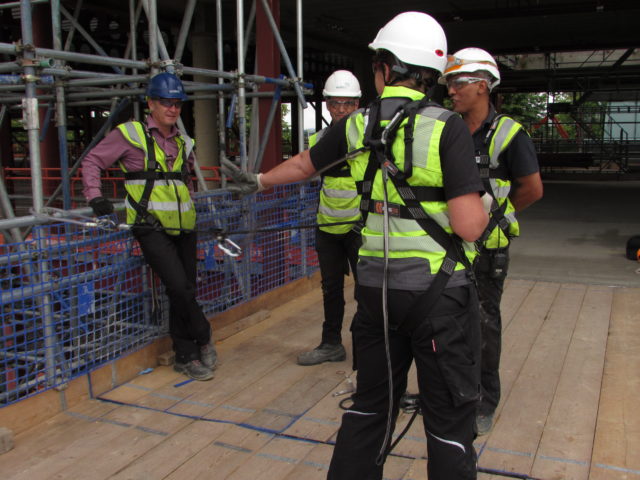
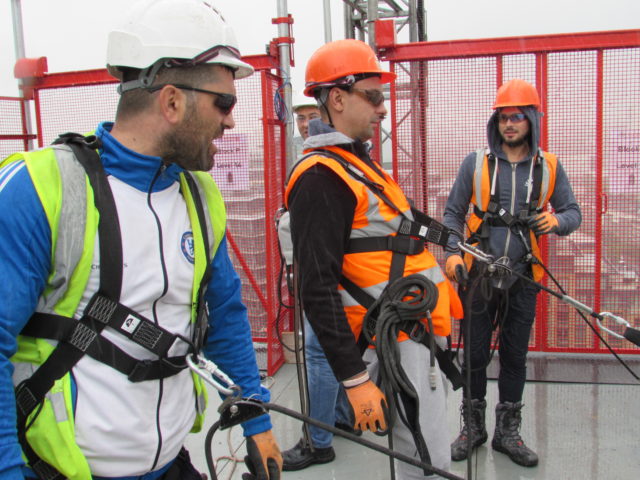
Lanyards are the most extensively used piece of equipment in the height safety arsenal. It’s no surprise given their versatility for preventing operatives from entering a fall hazard up to a 2m edge distance. You can discover up to 5 different kinds of lanyard to achieve a range of access from simple fixed locations to climbing and the traversal of complex structures. This is your chance to reaffirm lessons learnt during theory modules and practice connecting to harnesses and anchorage while gaining the invaluable ability to select the right lanyards for your applications. We’ll continuously verify your competency along the way!
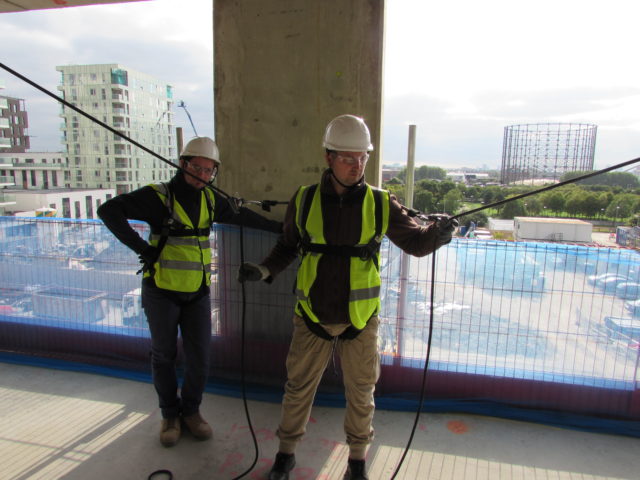
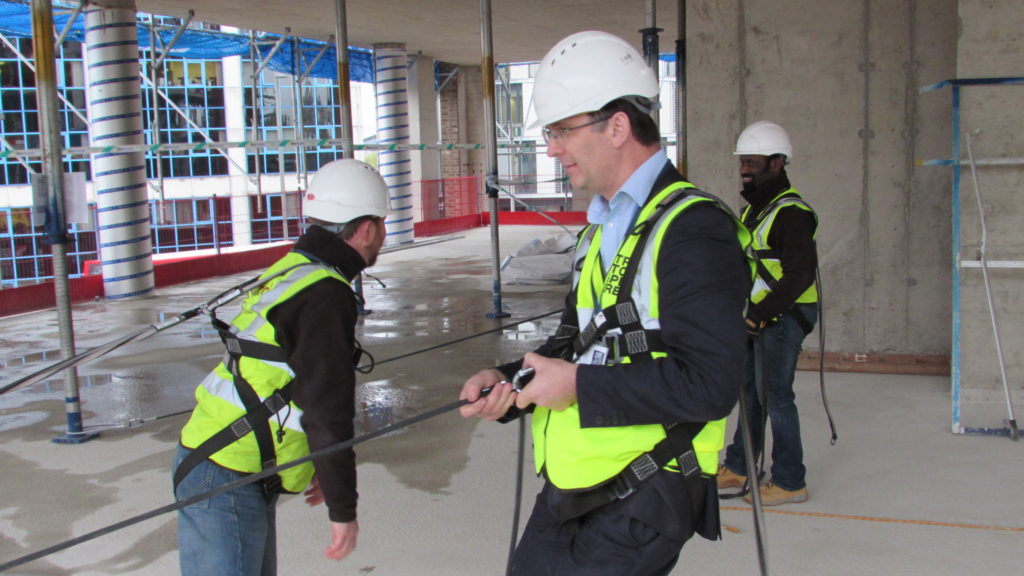
Lifelines prevent pendulum and provide greater levels of access when working over large areas as the added use of a pulley allows you to safely traverse the edge along which the lifeline is set. You’ll learn how to deploy, position and tension a lifeline, operate it using front and rear attachment across horizontal and pitched planes, and explore more advanced techniques such as lifeline bending for multiple edge access and intermediate attachments to support multiple simultaneous users.
Higher up in the height safety hierarchy are Restraint Systems. These systems offer the same level of access as Fall Arrest Blocks but are considered a safer and more desirable method of work since the use of ropes physically ‘restrains’ your proximity to an edge. Restraint Systems are extremely versatile, allowing for both front and rear connection in several configurations across horizontal, vertical and pitched planes. Some or all of which you’ll discover and practice depending on your course.
Fall arrest sytems increase mobility but the trade-off is they allow you to fall. If that happens the blocks lock like a car seat belt and (hence the title) arrest your fall. Because falling is permitted caution is required, so we show you strict rules and practises that enable you to use them safely for work at height.
Anchorage forms the foundation of your height access system and any mistakes made here makes all subsequent efforts worthless. In phase 2 You’ll learn which anchorage devices to use and in which configurations to place based on your work area and the leading edge.a
For many people conducting a risk assessment seems laborious and over-demanding, but it needn’t be difficult and if done properly will make all the difference. A good risk assessment ensures employees stay safe and, should an accident occur, you’ll have the paperwork to back up the fact you did all you could be reasonably expected to do. To get you started we dive right in and show you how to easily identify hazards, consider who might be harmed, evaluate risks and record and implement your findings into a pain-free risk assessment.
Equipment inspection is a requirement that must be conducted by a competent person on a 6-monthly basis. To understand your legal responsibilities we’ll introduce you to the inspections process for a full range of PPE and demonstrate how to record the relevant paperwork. Towards the end of the module is a practical exercise in which groups complete a harness inspection test, which gives them the confidence to conduct kit inspections for height safety harnesses.
You’ve sat through the all modules, now it’s time to put it all together! Using the knowledge gained throughout the course we give you several mock scenarios and challenge you in teams to conduct visual risk assessments, decide upon suitable anchorage locations and select equipment for work at height. In an informal discussion each group will then explain and debate their decision making process to demonstrate their ability to plan for a variety of work activities.
Once you have an understanding of what arrest and restraint methods are we take a deeper a look at intermediate devices, which work together between your anchor point and harness to form a height safety system. These include inertia reels, lanyards, lifelines, connectors and anchorage. We walk you through each device, demonstrating how they function, how you use them, what their limitations and performance capabilities are and the practices and work methods that enable you to use them correctly in applications.
Dropped objects are a serious risk, and not just to people, to anything below a work area where hand-held equipment can fall. In Dropped Objects we have a frank discussion about the problems associated with untethered tools, cover some mind-blowing physics about the impact force even the tiniest objects can generate, and lay down the law regarding individual and company liability resulting from injury. Finally we explore some tool tethering solutions available to you today, so you can start to safely secure your tools at height.
Those responsible for planning work at height are legally required to provide a method statement, a document explaining the way tasks should be completed. It outlines in detail the hazards involved and provides a guide on how to complete the job safely. With examples, we’ll walk you through the process of creating a strong, simple and e ective method statement that communicates risks and necessary precautions to all those involved in work at height, whilst avoiding the pitfall of ambiguities or generalisations that could lead to confusion.
Working at height puts your life in the hands of your equipment, so it’s in your interest to make sure your kit is t for use. To ensure safety we’ll teach you the importance of frequent kit inspection and outline the basic principles of product and service life. We’ll then explore both the causes and visual indicators of degradation on a variety of di erent products, helping you keep your kit in good condition by handling, storing and transporting it appropriately and identifying damage when conducting daily pre-use inspections.
Before work at height can begin each task must be assessed for risk and appropriate safety measures should be placed where needed. To do this we’ll utilize the Hierarchy of Control Measures, which outlines a step-by-step procedure to guide your height access provisions. We’ll start at the top with the safest possible procedure (avoiding the need to work at height all-together) and move down the hierarchy with progressively hazardous scenarios, giving you the knowledge to conduct your own future assessments using the HCM.
Throw it over your shoulders, clip it together, fasten the leg straps and you’re good to go, right? Be under no illusions, a damaged or incorrectly worn harness can lead to death, or if you’re truly unlucky, extreme testicular trauma and rectal damage! To prevent such a nauseating fate we’ll take you back to basics, familiarise you with different types of height safety harnesses and their various purposes, teach you how to perform pre-use inspections and then get down to the nuts and bolts of how to don and adjust it. At the end of the module each of you will be provided with your own harness to practise wearing, which will be then be assessed by the instructor to make sure the whole team is competent and con dent before moving on.
While we should do all we can to prevent falls, using arrest and adjustable restraint systems mean the risk of a fall still exists. We need to be prepared to conduct a swift height rescue should one occur. In height rescue 101 we’ll examine the physical effects of suspension intolerance and reflow syndrome on the human body and demystify the law, revealing exactly what you are required to plan and make provisions for. We’ll then introduce you to the 3 main methods of height rescue—lowering, raising and combined—to gain an overview of how they operate, their requirements of use and their pros and cons for the recovery of conscious and unconscious fall casualties.
Anchorage is the first and arguably the most important link in the height safety chain. The challenge is knowing what constitutes a safe anchorage point and how to select the right anchorage device to connect with out of a myriad of different options and confgurations. To help you understand we’ll start by exploring permanent anchor points comprising of fixed structures in your environment and move on to temporary solutions. Finally we’ll talk in-depth about available anchorage devices and analyse their specic uses, configurations, ratings and certifcations, giving you the theoretical knowledge to identify and set up suitable anchorage for your height safety system.